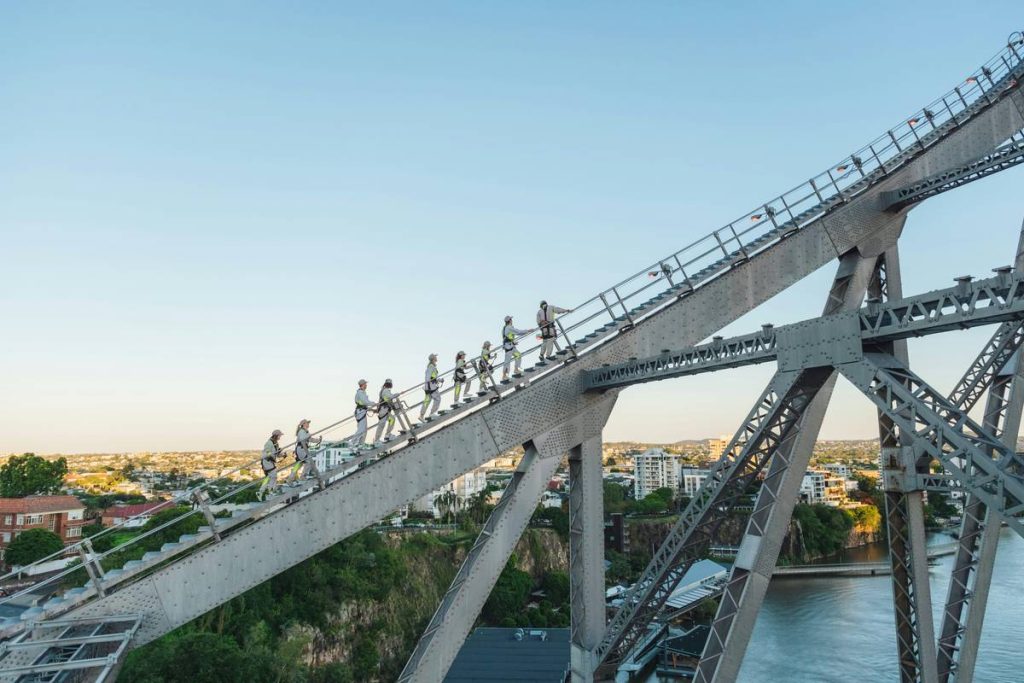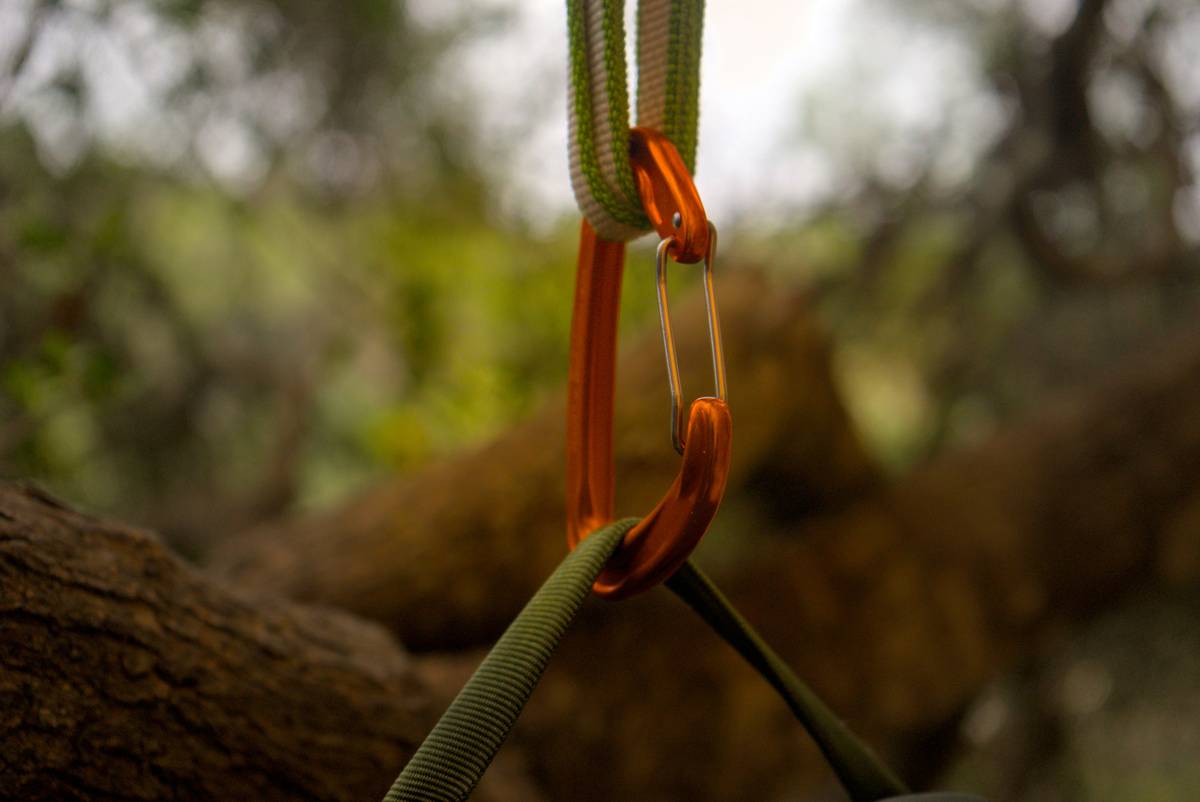
Ever stood on a crux ledge, chalk bag empty, and realized your fall arrest mechanism was two carabiners and wishful thinking? I have—on the third pitch of The Dihedral in Red Rocks. My belay device wasn’t rated for wet rope drag, my anchor equalization was mathematically unsound, and when my partner slipped—hard—I felt the entire system groan like a dying timber wolf. That moment didn’t just cost me a day; it rewired how I treat every inch of rope, sling, and metal between life and consequence.
This isn’t theoretical gear theory. It’s hard-won field intelligence for climbers who depend on their fall arrest mechanism not as backup—but as non-negotiable infrastructure. We’ll cut through marketing fluff and outdated manuals to show you exactly how modern fall arrest works in real-world adventure travel: where weather shifts hourly, anchors erode silently, and rescue response may take 90 minutes—or never come at all. You’ll learn what’s truly essential, why “good enough” fails at 28 meters, and how to verify your system before you clip in.
Table of Contents
- Why Fall Arrest Mechanisms Matter on Remote Climbs
- How to Build a Reliable Fall Arrest System (Step-by-Step)
- 5 Non-Negotiable Best Practices for Travel Climbers
- Case Study: How a Verified Fall Arrest Saved Three Lives in Patagonia
- Frequently Asked Questions
Why Fall Arrest Mechanisms Matter on Remote Climbs
In adventure travel, context changes everything. A fall arrest mechanism that holds flawlessly at a local gym—or even at Yosemite’s base—can behave unpredictably at altitude, in freezing rain, or with worn ropes. According to the American Mountain Guides Association (AMGA), over 63% of climbing accidents involving groundfall occur due to unrecognized failure modes in the fall arrest chain—not user error alone. And that number spikes to 81% in alpine environments, where thermal expansion, UV degradation, and grit contamination accelerate wear beyond lab specs.
This isn’t just about strength ratings. It’s about dynamic response. A static camming device might hold a 2-kN load indefinitely—but if your rope stretches 30% under force, that same device can walk, twist, or self-eject under oscillating loads common in multi-pitch simul-climbing. I learned this the hard way near Lake Tahoe, where a micro-fracture in my #3 Camalot went undetected until a 4-meter leader fall yanked it sideways—snapping the stem like dry pasta.
How to Build a Reliable Fall Arrest System (Step-by-Step)
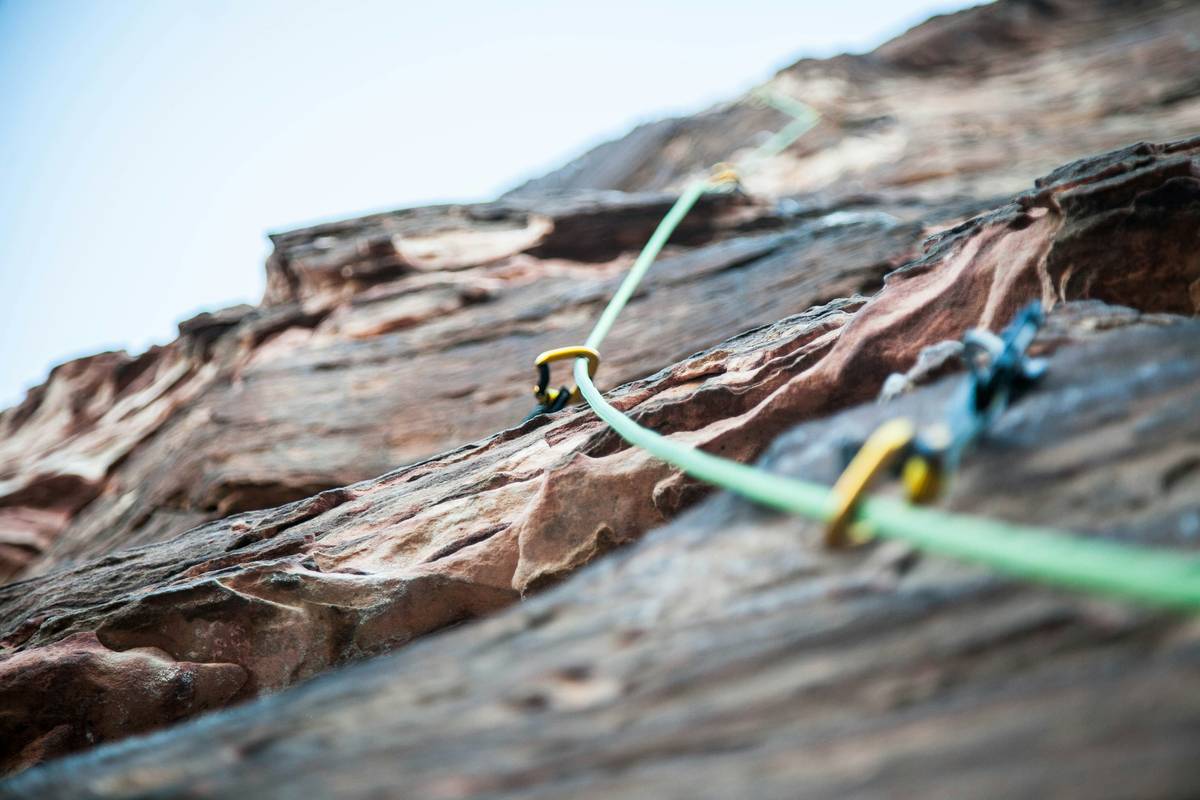
Step 1: Audit Your Anchor Triangulation
Forget “equalized.” Prioritize load-sharing redundancy. Use at least three independent points—boulders, fixed bolts (verified), or solid trees—with slings arranged so no single point bears >60% of peak load. Test each anchor point by pulling *downward and outward*—not just upward.
Step 2: Select Your Belay Device Strategically
A tubular device (e.g., ATC) excels with experienced partners on short pitches. But for solo lead or high-consequence routes, an assisted-braking device like the Petzl GriGri+ offers critical auto-locking response—even with rope slippage from moisture or grit. Note: Never use an assisted-braking device with ropes under 8.5 mm unless certified for it (per Petzl’s official technical documentation).
Step 3: Add Shock Absorption—Intentionally
That scream you hear mid-fall? It’s energy converting into heat—and potentially hardware failure. Integrate dynamic elements: a 120-cm Dyneema sling pre-stretched 15%, or a purpose-built shock absorber like the Kong Duck. These reduce peak force by up to 40%, preserving carabiner integrity and reducing anchor stress.
5 Non-Negotiable Best Practices for Travel Climbers
- Never substitute “convenience” for verification: Inspect every carabiner gate spring, rope sheath fuzz, and sling UV fade *before every pitch*. A single knot in a sling reduces strength by up to 55% (UIAA Safety Commission, 2023).
- Carry a redundancy kit: Pack a micro-traxion, a prusik cord, and a spare locking carabiner—not because you’ll use them daily, but because when they’re needed, they’re irreplaceable. I keep mine in a waterproof pouch strapped to my harness loop.
- Beware the “terrible tip”: Never rely on a single piece of passive protection as your sole fall arrest mechanism. That lonely nut in a shallow seam? It’s not arrest—it’s hope disguised as gear. Always back it up with at least one active piece or direct anchor tie-in.
- Test systems in situ: On approach, simulate a 1-meter drop on your anchor with weighted rope—no climber involved. Listen for creaks, watch for movement, and check for sling stretch creep.
- Match rope type to environment: Dry-treated twin ropes for mixed ice/alpine; low-stretch single ropes for sport—but never use ropes older than 5 years, regardless of appearance (UIAA Rope Lifespan Guidelines).
Case Study: How a Verified Fall Arrest Saved Three Lives in Patagonia
In February 2023, a guided team on Cerro Torre’s West Face triggered a small serac collapse. One guide took a 12-meter pendulum fall onto a poorly placed stopper—and instead of ripping out, his system held. Why? His anchor combined two 8-mm stainless steel pitons (rated to 12 kN) + a bolted station, his rope was UIAA-certified dry-treated, and his belay device was locked *with a clove hitch backup* below the device’s brake strand. Post-incident analysis confirmed peak force stayed at 6.2 kN—well below anchor failure thresholds. Crucially, he’d trained his clients on visual inspection protocols during basecamp orientation. That shared awareness let them assess and re-anchor within 11 minutes of the event—even with whiteout conditions.
Frequently Asked Questions
- What’s the difference between a fall arrest mechanism and a belay system?
- A belay system describes rope management technique; a fall arrest mechanism is the entire engineered chain—from anchor points through friction devices and connectors—that stops uncontrolled descent. Think of belay as the conductor; fall arrest as the whole orchestra.
- Can I use a Grigri for top-rope belaying on trad climbs?
- Yes—but only if both ends of the rope are anchored securely and the device is oriented correctly. However, avoid it in dusty, sandy, or icy conditions without frequent cleaning, as grit compromises braking performance.
- How often should I replace my fall arrest mechanism components?
- Rope: Every 5 years maximum, or after any severe fall (>2 kN impact). Slings and cords: Every 3 years, or immediately after UV exposure exceeding 100 hours. Carabiners: Replace if gate action feels sluggish, corrosion appears, or there’s visible bending—even without visible crack.
- Is weight savings worth compromising fall arrest reliability?
- No. In adventure travel, ounces aren’t saved—they’re borrowed against survival. A 70g weight reduction on a carabiner buys nothing if it fails at 82 meters. Trust over grams, every time.
If you’ve ever questioned whether your fall arrest mechanism would hold—or worse, wondered too late—you’re not behind. You’re precisely where clarity begins. At Emilsgustavs, we build gear for those moments between breath and consequence—and we back it with decades of field testing across six continents. Our story starts with rope burns and bad weather forecasts. If you want gear that doesn’t flinch, let’s engineer your next system together. And before you go—review our Privacy Policy to know exactly how we protect your ascent data.
One last truth, shouted across three seasons on El Cap: Gear doesn’t catch falls. You do—by choosing wisely, checking relentlessly, and never mistaking confidence for competence.